What is My Network?
‘My Network’ is a feature of your online ticketing account which can be accessed via https://www.eticketing.co.uk/arsenal/MyAccount/MyNetwork.
Once a supporter has been added to your Network, you will be able to purchase tickets with them in the same transaction, or on their behalf (subject to availability).
This feature will also allow you to manage the accounts of friends or family members, should they be at the relevant level to do so.
Adding to My Network
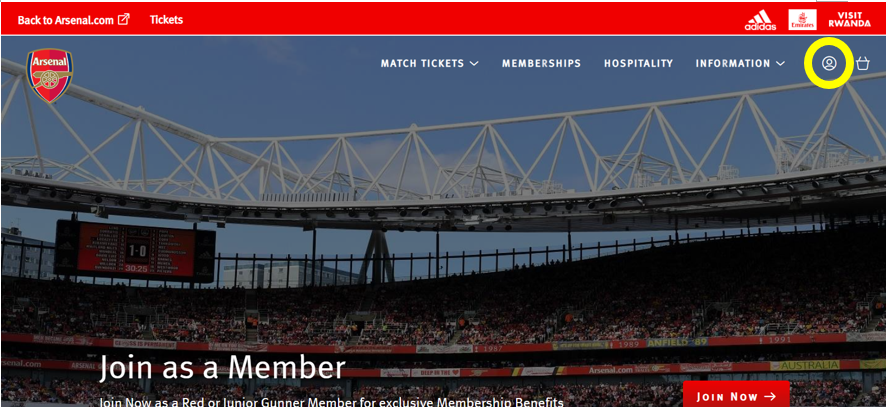
Step 1: To activate your membership, visit www.eticketing.co.uk/arsenal and click the Log In button in the top right-hand side of the screen.

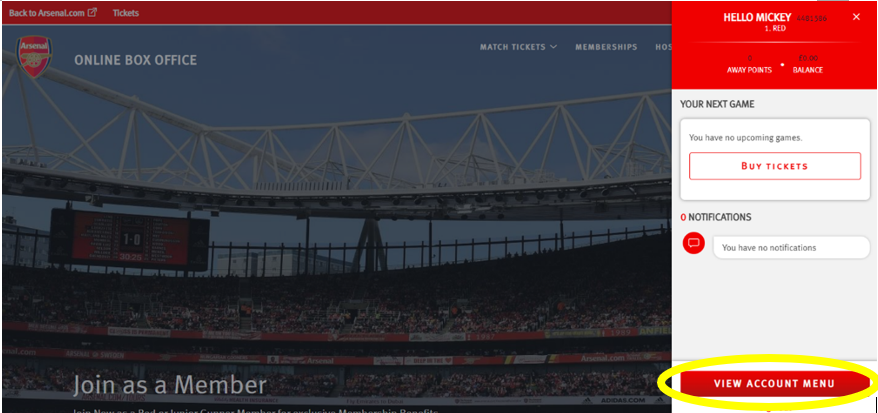
Step 2: Then, click the head and shoulders icon again to access account information and click on ‘View Account Menu’.

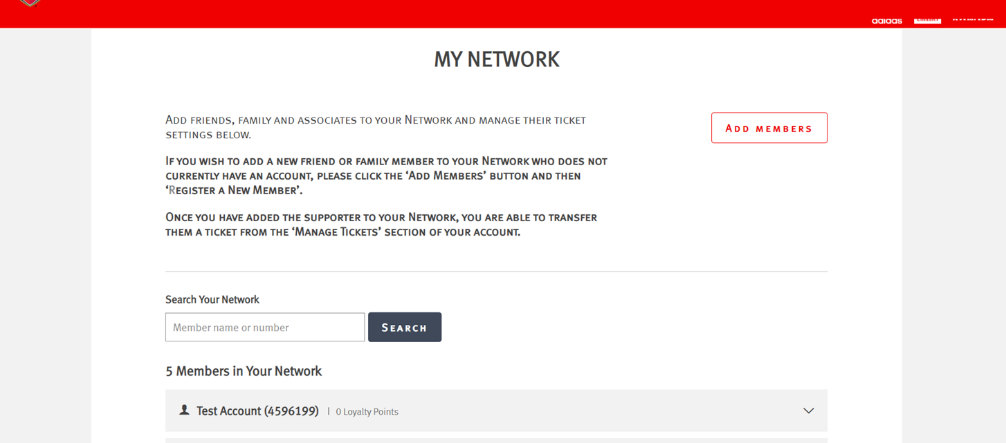
Step 3: Click on ‘Account Management’ and then ‘Network’.

Step 4: To add someone to your Network, click on ‘Add Members’.

Step 5: Type in the Membership Number and Surname of the Member wishing to be added to the Network.
**please ensure there is no space after the surname or membership number if you copy and paste, as this will prevent the system locating the member**

Step 6: If the supporter does not have an account, click on ‘Register a New Member’.

Step 7: Once the Member is found, click on ‘Add Member’.

Step 8: You should see a confirmation page, which shows the ‘Member Added’ messaging.

Managing My Network
My Network Levels:
- Assigned (Level 1): Gives the Member the privilege to allow you to purchase tickets with, or on the behalf of, someone in your Network.
- Managed (Level 2): Gives the Member the privilege to allow you to manage the tickets or someone in your network (e.g., Renew their Season Ticket, purchase a reserved seat on their account, post their seat on Ticket Exchange and Ticket Transfer)
Step 1: If you’re not already logged in, visit www.eticketing.co.uk/arsenal and Log In to your account using the button in the top right-hand side of the screen.
Step 2: Then, click the head and shoulders icon again to access account information and click on ‘View Account Menu’.
Step 3: Next, click on ‘Account Management’ and then ‘Network’.

Step 4: Once a supporter has already been added to your Network, they will appear in this ‘My Network’ section of your account.
Step 5: Click on the supporter’s name to expand and view the option to upgrade the rights to ‘Manage’ the account.
Note: You will also be able to amend the right that the supporter has to your account.

Step 6: To upgrade the supporter, click on ‘I can MANAGE tickets for’ and then ‘Send Request’.

Step 7: An email will then be sent to the registered email address on the supporter's account for them to accept this request.

Removing from My Network
Step 1: To access your network, visit www.eticketing.co.uk/arsenal and Log In to your account using the button in the top right-hand side of the screen.

Step 2: Then, click the head and shoulders icon again to access account information and click on ‘View Account Menu’.

Step 3: Click on ‘Account Management’ and then ‘Network’.

Step 4: To remove a supporter from the Network, just click on the name of the person within the network and then ‘Remove Member’.

Step 5: You then have the option to ‘Remove Member’ or ‘Remove and Block’.